DATE :
The Complete Guide to Guitar Adjustments and Setup for Better Playability
You're holding a guitar that buzzes on certain frets, fights you on bends, or never quite stays in tune no matter how carefully you tune it. These frustrations usually aren't signs of a bad instrument—they're signs of a guitar that needs adjustment.
A few targeted changes to neck relief, string height, and intonation can transform a difficult guitar into one that plays effortlessly. This guide walks you through each adjustment in the correct order, explains what tools you'll need, and helps you recognize when professional help makes more sense than DIY.
What Is a Guitar Setup and What Does It Include
A guitar setup is a sequence of adjustments that improve playability, sound, and tuning stability. The process typically starts with tuning, then moves to adjusting the truss rod for proper neck relief, followed by string action at the bridge, nut slot height, pickup height on electrics, and finally intonation. Each adjustment builds on the previous one, which is why order matters—skip a step or work out of sequence, and you'll likely redo work you've already completed.
Think of a setup as a tune-up for your instrument. Even well-made guitars benefit from periodic adjustment because wood responds to humidity, temperature, and string tension over time, particularly in the first three years when wood movement is most significant.
Truss rod adjustment: Controls the amount of curve (called relief) in the neck
Action adjustment: Sets how high the strings sit above the frets
Intonation adjustment: Ensures the guitar plays in tune across the entire fretboard
Pickup height adjustment: Balances output and tone on electric guitars
String replacement: Fresh strings are essential for accurate setup work
Tools You Need to Set Up a Guitar
Having the right tools makes setup work safer and more precise. You don't need a professional workshop, but a few essentials prevent frustration and protect your instrument from accidental damage.
Essential Tools for Basic Guitar Setup
Allen wrenches/hex keys: Required for most truss rod and saddle adjustments
Phillips and flathead screwdrivers: Used for pickup height screws and various hardware
String action gauge or ruler: Measures string height accurately (look for one marked in 64ths of an inch)
Electronic tuner: Critical for checking intonation—clip-on or pedal tuners both work
Fresh strings: Always perform setup work with new strings installed
Additional Tools for Electric Guitar Setup
Feeler gauges: Thin metal strips that measure neck relief precisely
Truss rod wrenches: Some guitars require specific sizes—Fender and Gibson use different tools
Radius gauges: Help match saddle heights to your fretboard's curve
Optional Tools for Professional Results
A capo simplifies certain measurements by holding strings at the first fret. A neck rest or support cradle keeps the guitar stable while you work. Contact cleaner addresses scratchy pots and switches on electrics. None of these are strictly necessary, but they make the process smoother.
How to Assess Your Guitar Before Making Adjustments
Before turning any screws, take time to evaluate what actually requires attention. Jumping straight into adjustments without assessment often creates new problems or wastes effort on areas that were already fine.
How to Sight the Neck for Bow Problems
Hold the guitar at body level and look down the edge of the neck from the bridge toward the headstock. You're checking for the neck's overall curve. A slight forward bow (called upbow or relief) is normal and usually desirable. A backward bow (backbow) curves the neck toward the strings and typically causes buzzing. A perfectly straight neck might seem ideal, but most players actually prefer a small amount of relief.
How to Do the Tap Test for Neck Relief
Place a capo on the first fret, then press the low E string down at the fret where the neck meets the body—usually around the 14th to 17th fret depending on the guitar. Now tap the string at the 7th or 8th fret.
You're looking for a small gap between the string and the fret, roughly the thickness of a business card. No gap suggests the neck is too straight or backbowed. A large gap indicates excessive relief.
How to Measure String Action Height
Action refers to the distance between the bottom of the string and the top of the fret. Measure at the 12th fret using your ruler or action gauge. Lower action makes the guitar easier to play but increases the chance of fret buzz. Higher action reduces buzz but requires more finger pressure. There's no single "correct" measurement—it depends on playing style and personal preference.
How to Test Intonation
Play an open string and note the pitch on your tuner. Then fret that same string at the 12th fret (not the harmonic—actually press the string down) and check the pitch again. The fretted note at the 12th fret is exactly one octave higher than the open string. If the fretted note reads sharp, the string length is too short. If it reads flat, the string length is too long.
How to Adjust the Truss Rod for Proper Neck Relief
The truss rod is often the first adjustment in a setup because neck relief affects everything else—action, playability, and even intonation. It's also the adjustment most likely to cause damage if done incorrectly, so proceed carefully.
How the Truss Rod Works
A truss rod is a metal rod running through the neck that counteracts the tension of the strings. Tightening the rod (usually clockwise) reduces relief by pulling the neck straighter or into backbow. Loosening the rod (counterclockwise) allows more relief by letting string tension pull the neck forward. The goal is finding the point where the neck has just enough curve to prevent buzzing without making the action unnecessarily high.
What Is Upbow and Backbow
Upbow (forward bow): The neck curves away from the strings, creating a dip in the middle. This is the most common condition and often causes high action around the 5th through 9th frets.
Backbow (reverse bow): The neck curves toward the strings, creating a hump in the middle. This typically causes fret buzz in the middle of the neck and is less common.
Step 1. Locate the Truss Rod Adjustment Point
On most electric guitars, the adjustment nut sits at the headstock—sometimes visible, sometimes hidden under a small cover plate. Some Fender-style guitars have the adjustment at the heel of the neck, requiring partial neck removal-complete-authentication-guide). Acoustic guitars typically have the adjustment inside the soundhole, accessible through the opening.
Step 2. Determine Which Direction to Turn
The general rule: clockwise tightens (reduces relief), counterclockwise loosens (adds relief). However, some vintage guitars and certain designs work in reverse. If you're unsure, research your specific guitar model before making any turns. When in doubt, a quarter turn counterclockwise is the safer starting point—it's easier to correct too much relief than to fix a cracked neck.
Step 3. Make Small Quarter Turn Adjustments
Never turn the truss rod more than a quarter turn at a time. If you feel significant resistance, stop immediately—forcing a stuck truss rod can crack the neck or strip the adjustment nut. After each quarter turn, retune the guitar and reassess. Some players prefer even smaller adjustments, making an eighth turn and waiting.
Step 4. Let the Neck Settle and Recheck
Wood takes time to respond to truss rod changes. After making an adjustment, wait at least a few minutes—some technicians recommend waiting overnight for significant changes. Recheck using the tap test and sighting methods described earlier. Repeat the process if needed, always in small increments.
Tip: If you own a vintage or potentially valuable guitar, consider having a professional handle truss rod adjustments. The risk of damage often outweighs the cost of expert service. Get a free consultation from Edgewater Guitars if you're unsure about your instrument's value or condition.
How to Adjust String Action at the Bridge
Once neck relief is set correctly, bridge adjustment directly controls how easy the guitar is to play. This is where you dial in the feel that matches your playing style.
Electric Guitar Bridge Height Adjustment
Different bridge designs use different adjustment mechanisms:
Tune-o-matic bridges: Thumbwheels on each post raise or lower the entire bridge assembly
Strat-style bridges: Individual saddle height screws (tiny Allen screws) adjust each string separately
Floyd Rose bridges: Pivot post adjustment affects overall height; individual saddle height is typically fixed
For guitars with individual saddle adjustment, you can fine-tune the action to follow the fretboard radius—slightly higher on the bass side, slightly lower on the treble side.
Acoustic Guitar Saddle Adjustment
Acoustic guitars present a different challenge. The saddle (the white or bone-colored strip at the bridge) isn't adjustable with screws. Lowering action requires removing the saddle and sanding material from the bottom. Raising action means adding a shim or replacing the saddle with a taller one. This process is less reversible than electric guitar adjustments, so proceed with caution or seek professional help.
Recommended Action Heights by Playing Style
Playing Style | Characteristics | Action Preference |
|---|---|---|
Low action | Fast playing, light touch, lead work | Lower settings—easier fretting but less margin for error |
Medium action | Versatile, suits most players | Balanced settings—good compromise between playability and clarity |
High action | Slide guitar, heavy strumming, aggressive picking | Higher settings—more volume and sustain, less buzz |
How to Check and Adjust Nut Slot Height
The nut—that slotted piece at the headstock end of the fretboard—affects how the guitar plays in the first few frets. If the slots are too shallow, open strings sit too high and first-position chords feel stiff. If the slots are too deep, you'll hear buzzing on open strings or the first fret.
To check nut height, fret each string at the third fret and look at the gap between the string and the first fret. A small gap (roughly the thickness of a sheet of paper) is ideal. No gap means the slot is too deep. A large gap means the slot is too shallow.
Deepening nut slots requires specialized nut files matched to each string gauge. This adjustment is less reversible than others—once material is removed, you can't put it back. Many players leave nut work to professionals, and that's a reasonable choice.
How to Set Intonation for Accurate Tuning
Intonation determines whether your guitar plays in tune across the entire fretboard. A guitar can be perfectly tuned on open strings yet sound noticeably off when you play chords higher up the neck.
Step 1. Tune the Open String
Start with fresh strings and tune the guitar to pitch. Make sure the guitar is in playing position (not lying flat) since neck angle affects tuning slightly. Use an accurate electronic tuner—your ears alone aren't precise enough for intonation work.
Step 2. Play the 12th Fret and Compare
Fret the string at the 12th fret using normal pressure—don't press harder than you would while playing. Compare this pitch to the open string. The fretted note and open string pitch match exactly when intonation is correct (the fretted note is one octave higher). Note whether the fretted note reads sharp or flat.
Step 3. Adjust the Saddle Position
If the 12th fret reads sharp: Move the saddle away from the neck (lengthening the string)
If the 12th fret reads flat: Move the saddle toward the neck (shortening the string)
Most electric guitar bridges have screws at the back of each saddle for this adjustment.
Step 4. Repeat for Each String
Each string requires individual adjustment. After moving a saddle, retune the open string before checking the 12th fret again—changing string length affects pitch. Work through all six strings methodically.
How to Adjust Pickup Height on an Electric Guitar
Pickup height affects volume, tone, and even tuning stability. Pickups that sit too close to the strings can cause a warbling effect (the magnets pull on the strings) and reduce sustain. Pickups that sit too far away sound weak and lack definition.
Single Coil Pickup Height Adjustment
Single coil pickups are more sensitive to height changes than humbuckers. Adjust using the screws on each side of the pickup. Lower settings reduce output but often produce a cleaner, more articulate tone. Raise the pickup gradually until you find the balance between output and clarity.
Humbucker Pickup Height Adjustment
Humbuckers can generally sit closer to the strings without causing problems. Balance the neck and bridge pickupvolumes by adjusting their relative heights—if the bridge pickup overwhelms the neck pickup, lower the bridge side or raise the neck side.
Recommended Pickup Height Guidelines
A common starting point: fret the string at the highest fret, then measure the gap between the bottom of the string and the top of the pickup pole piece. From there, adjust by ear. Listen for the warbling effect that indicates pickups are too close, and back off until it disappears.
How to Fix Common Problems After Guitar Setup
Even after careful setup work, issues sometimes remain or new problems appear.
How to Get Rid of Fret Buzz
Buzz in middle frets: Usually indicates insufficient neck relief—try loosening the truss rod slightly
Buzz in first few frets: Often means nut slots are too deep—may require nut replacement
Buzz at specific frets only: Could indicate uneven frets requiring leveling—this is professional repair territory
How to Fix Tuning Stability Issues
Tuning problems often stem from friction at the nut. A small amount of graphite (pencil lead) in the nut slots helps strings move freely. Other causes include improperly wound strings, loose tuning machines, or strings that weren't properly stretched when installed.
How to Address Dead Spots on the Fretboard
Dead spots—areas where notes decay quickly or sound choked—are often structural characteristics of the guitar rather than setup issues. Sometimes adjusting neck relief or trying different string gauges helps, but dead spots can be difficult or impossible to eliminate completely.
Acoustic Guitar Adjustments vs Electric Guitar Setup
While the principles overlap, acoustic and electric guitars present different challenges:
Aspect | Electric Guitar | Acoustic Guitar |
|---|---|---|
Truss rod access | Headstock or heel | Often inside soundhole |
Action adjustment | Saddle screws (reversible) | Saddle sanding (permanent) |
Intonation | Adjustable saddles | Fixed saddle position |
Pickup height | Adjustable | N/A unless equipped |
DIY friendliness | More forgiving | Requires more caution |
Acoustic guitar setup tends to be less reversible. Sanding a saddle too low means replacing it entirely. For valuable acoustics, professional setup is often the wiser choice.
When to Get a Professional Guitar Setup Instead of DIY
Some situations call for expert handling rather than DIY experimentation.
Signs Your Guitar Needs More Than Adjustment
Uneven or worn frets: Requires fret leveling or replacement—not a setup issue
Neck twist or severe warp: Truss rod adjustments can't correct structural problems
Cracked or badly worn nut: Replacement is necessary, not adjustment
Scratchy or dead electronics: May require resoldering or component replacement
Why Vintage Guitars Require Expert Handling
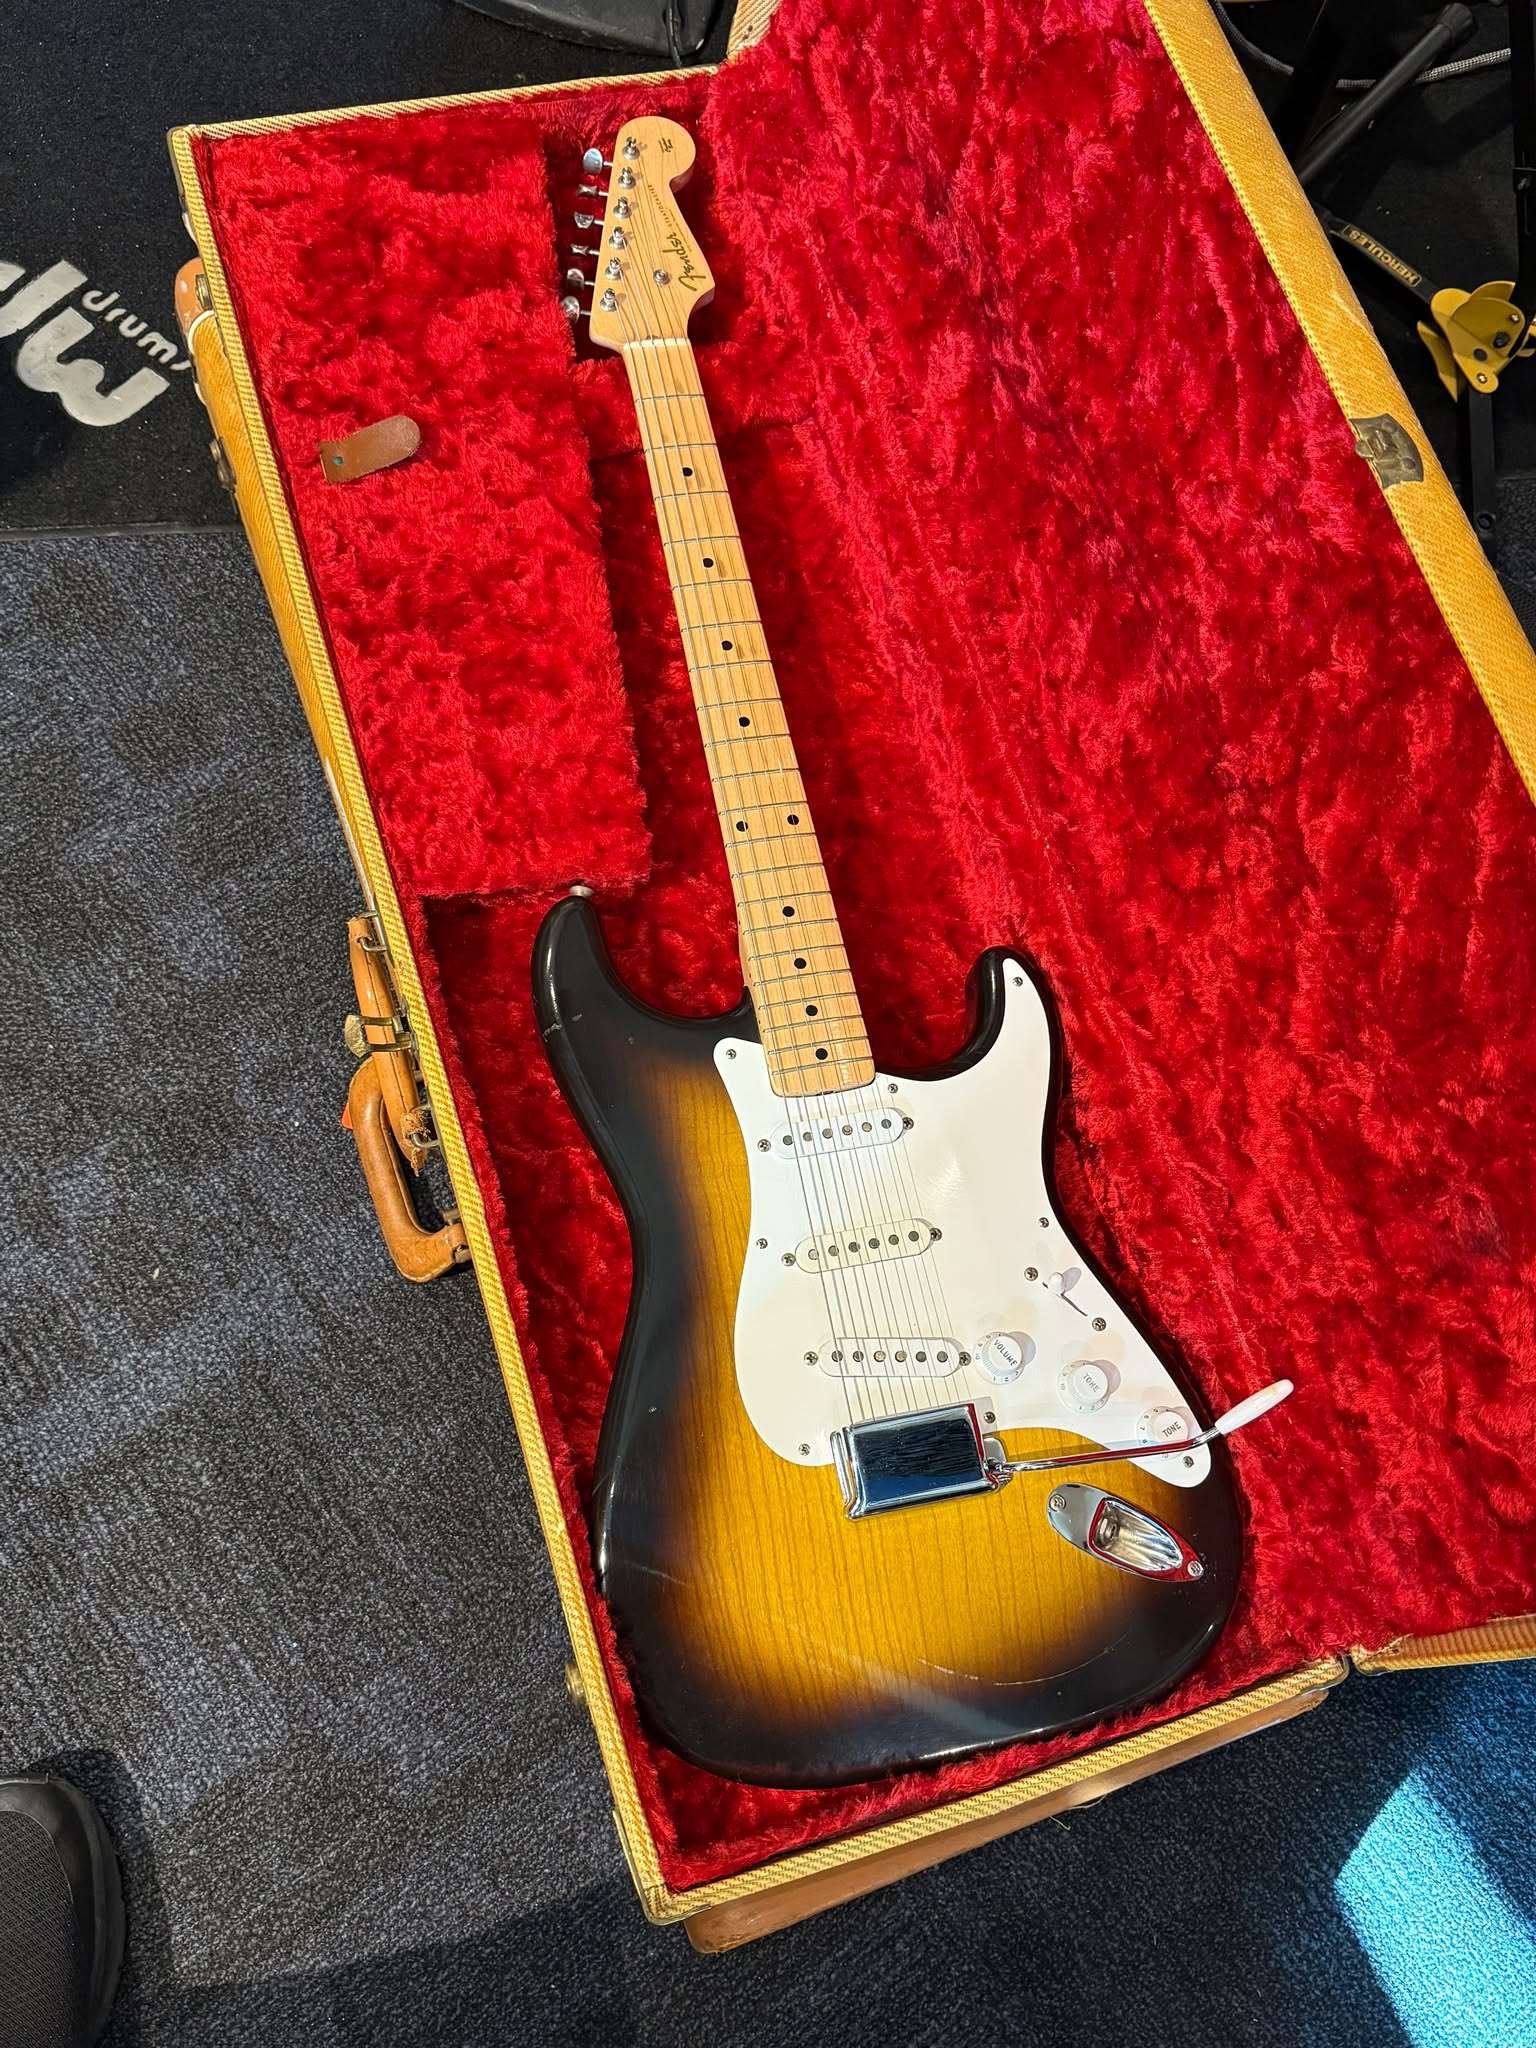
Vintage instruments—especially those from the 1950s through 1970s—have aged wood, potentially fragile truss rods, and value tied directly to originality. Improper adjustment can cause irreversible damage and significantly reduce what the guitar is worth. If you suspect your guitar might be collectible, get it evaluated before making any changes.
Pro Setup Cost vs DIY Tool Investment
Professional setup typically runs $65 to $145 and includes expert assessment that often catches issues DIY players miss. For valuable instruments, that cost is minimal compared to potential damage from inexperienced adjustment. The tools for DIY setup can cost nearly as much as a professional service, though they're a one-time investment if you plan to maintain multiple guitars.
How Guitar Setup Affects Value and When to Consider Selling
Proper setup maintains playability but doesn't significantly increase the resale value of vintage instruments. Collectors expect to perform their own setup work. However, botched repairs or modifications—stripped truss rod nuts, poorly cut nuts, refinished bodies—can dramatically decrease what a guitar is worth.
If you own a vintage or potentially collectible guitar and you're unsure about making adjustments, getting a professional valuation first helps you understand what you have. You might be holding something worth far more than you realize, and the safest approach is knowing before you start turning screws.
Get your free guitar valuation from Edgewater Guitars—we help owners understand their instrument's worth before deciding whether to keep, set up, or sell.
FAQs About Guitar Adjustments and Setup
How often should a guitar have a professional setup?
Most guitars benefit from setup once or twice per year, or whenever you change string gauge, notice playability issues, or experience significant humidity changes outside the ideal 45-55% range.
Can improper guitar setup damage the instrument?
Yes. Over-tightening a truss rod can crack the neck, and aggressive nut filing is irreversible. Always make small adjustments and stop immediately if you encounter resistance.
How long does a complete guitar setup take?
A thorough setup typically takes one to two hours, though you may want to allow additional time for the neck to settle between truss rod adjustments.
Do brand new guitars need to be set up?
Often yes. Factory setups use general specifications that may not match your playing style, and guitars can shift during shipping due to temperature and humidity changes.
What is the difference between a guitar setup and a guitar repair?
Setup involves adjusting existing components for optimal playability. Repair means fixing or replacing damaged or worn parts like frets, nuts, or electronics.
How does humidity affect guitar setup and adjustments?
Wood expands and contracts with humidity changes, altering neck relief and action by 1-3mm. Guitars may require seasonal adjustments, especially acoustics with solid wood construction.
Get Your Guitar Valued Before You Decide
If you own a vintage, rare, or potentially valuable guitar, understanding its worth before attempting DIY adjustments helps you make informed decisions. Edgewater Guitars provides free, no-obligation valuations from experienced vintage guitar specialists who have examined thousands of instruments.
For guitars that might be collectible, knowing the value helps you decide whether professional setup, careful DIY work, or selling makes the most sense. Our process is straightforward: share details and photos, receive an expert assessment, and get a fair cash offer if you're interested in selling.
Get Your Free Valuation — Call (440) 219-3607 or submit your guitar details through our website. No obligation, free professional appraisal, quick response guaranteed.

